
Get Your AI Lab in the Cloud with Lightning.ai

Ready to dive into AI development without the headache of local setups and hardware limitations? Or perhaps you’re looking for more GPU power than your home setup can provide? Lightning.ai offers a powerful, cloud-based platform that lets you build, train, and deploy AI models with ease. One of its core features is the Lightning Studio – your personal, persistent AI development environment.
Today, we’ll walk you through the simple steps to get your very own Studio set up, from signing up to launching your first cloud machine.
Step 1: Sign Up for Lightning.ai
Getting started is straightforward.
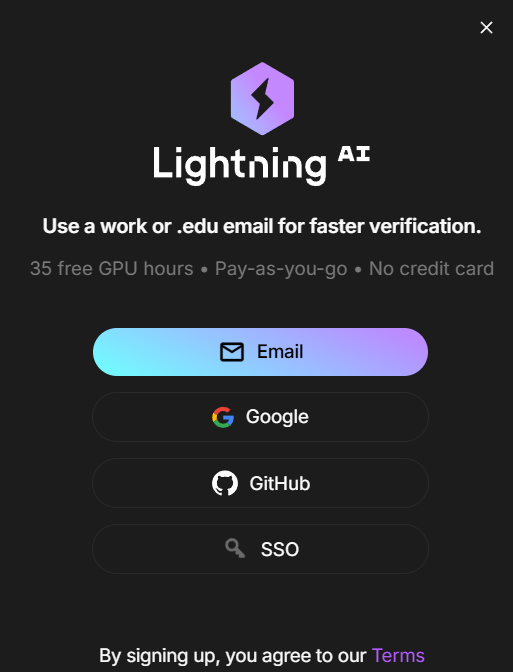
Head over to the Lightning.ai website. You’ll be greeted with a simple sign-up page. You can use your email, or link your Google or GitHub accounts. Notice the “35 free GPU hours” and “No credit card” mentions – Lightning.ai gives you a generous head start to explore the platform!
Step 2: Your Lightning.ai Dashboard
Once you’re signed in, you’ll land on your main dashboard. This is your central hub for managing your projects, Studios, and more.
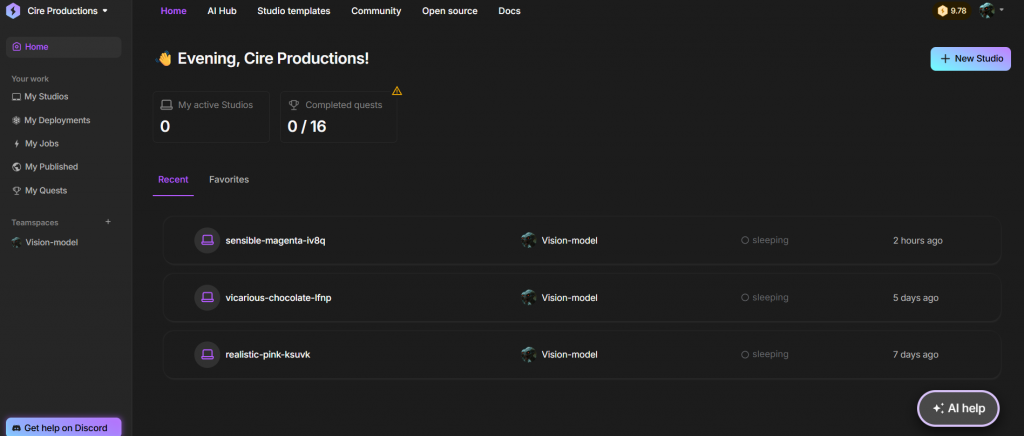
Here you can see your existing Studios (if any), manage your Teamspaces, and access various resources. To create a new development environment, look for the “+ New Studio” button, usually located in the top right corner.
Step 3: Configuring Your New Studio
Clicking “+ New Studio” opens a configuration dialog. This is where you’ll define the basics of your new environment.
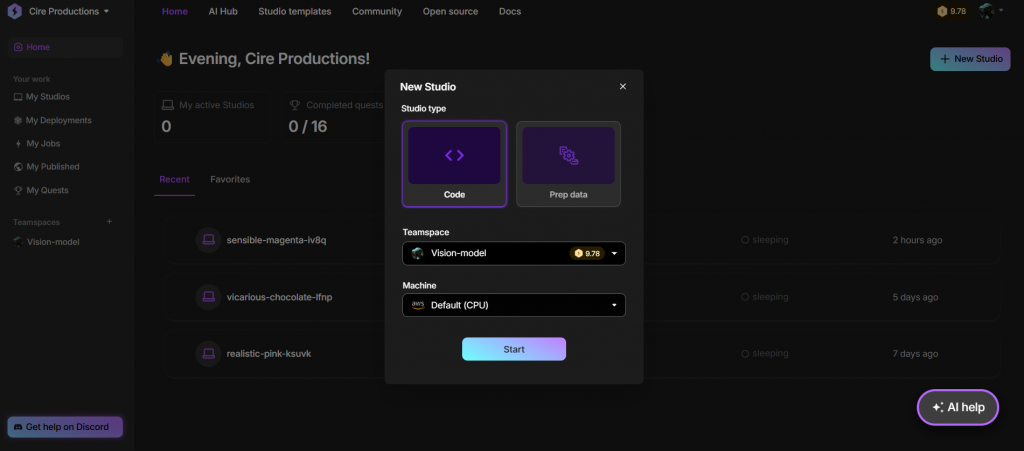
- Studio type: You can choose between “Code” (for general development and model training) or “Prep data” (optimized for data preparation tasks). For now, let’s stick with “Code.”
- Teamspace: Select the Teamspace where you want this Studio to reside. Teamspaces help organize your projects.
- Machine: This is crucial! By default, it selects a CPU instance. This is fantastic because CPU usage for your Studio is free and doesn’t burn your valuable GPU credits. It’s perfect for setting up your code, installing libraries, and any tasks that aren’t computationally intensive.
Click “Start,” and Lightning.ai will begin provisioning your Studio.
Step 4: Welcome to Your Studio!
In just a few moments, your Studio will be ready! It will open up in your browser, presenting a familiar, VS Code-like interface.
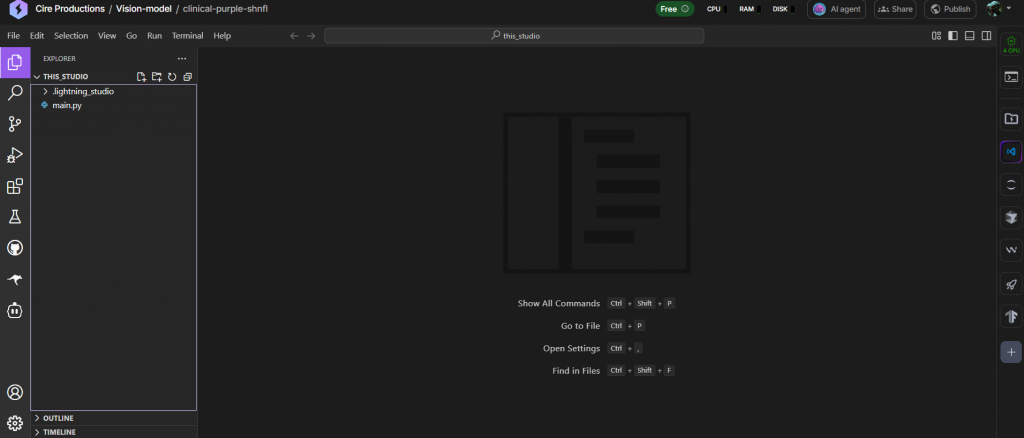
You’ll see a file explorer on the left, a main coding area, and access to a terminal. This is your persistent cloud environment. You can clone git repositories, install packages, and start coding right away. Notice at the top it indicates you are on a “Free CPU.”
Step 5: Exploring the Studio Environment Controls
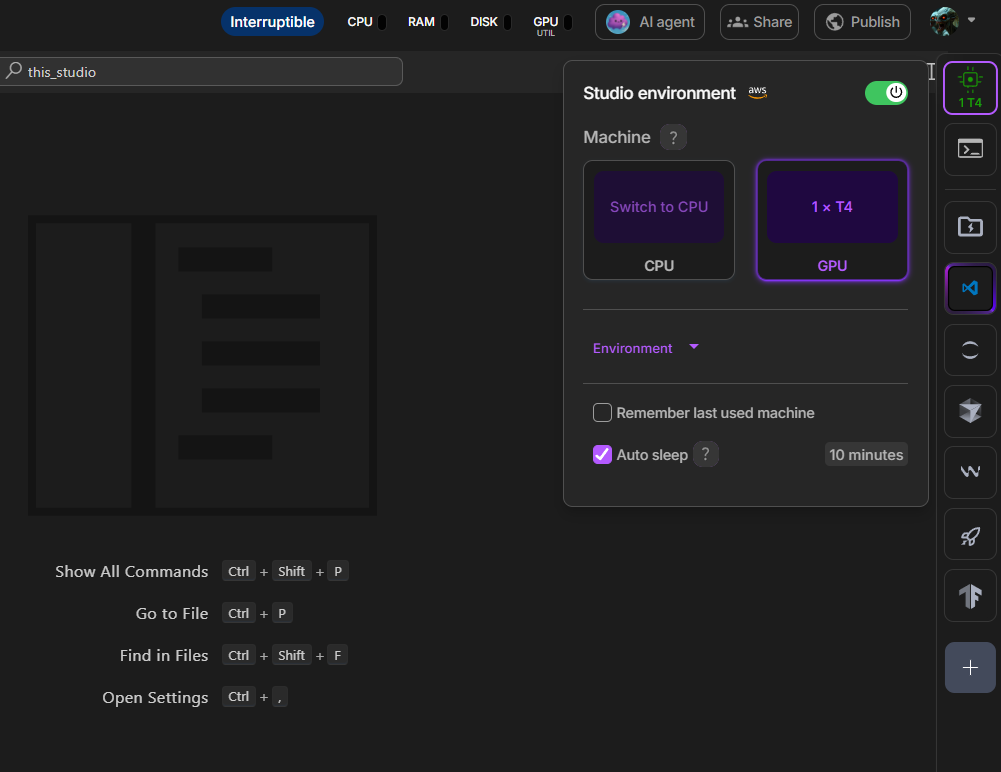
On the right side of the interface, you’ll find the “Studio environment” panel. This panel gives you control over your machine’s resources.
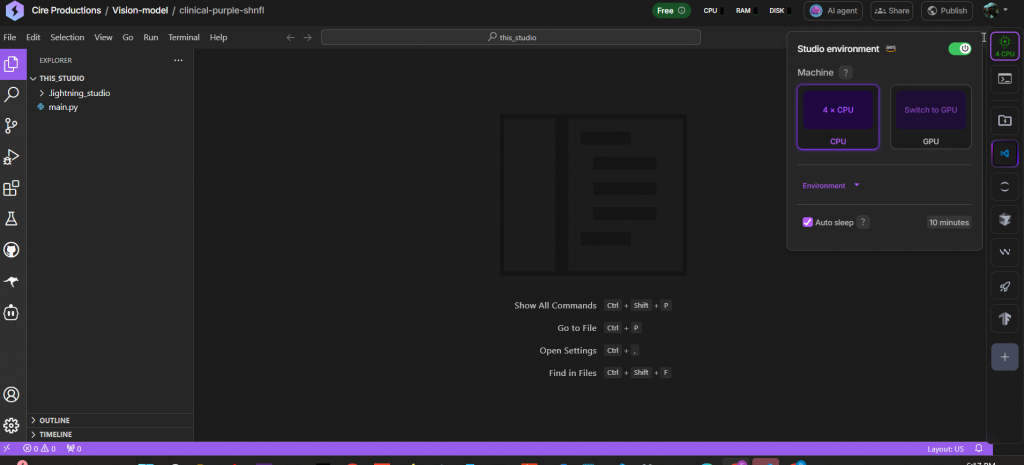
Here, you can see your current machine (e.g., “4 x CPU”). This is also where you can switch to a more powerful GPU when you’re ready for intensive tasks like model training. The “Auto sleep” feature is also handy – it can automatically pause your Studio after a period of inactivity to save resources (though the free CPU is always free to run, GPU instances will incur costs when active).
Step 6: Powering Up! Choosing a GPU
Let’s say you’ve set up your code on the free CPU and now need more power. Click the “Switch to GPU” button.
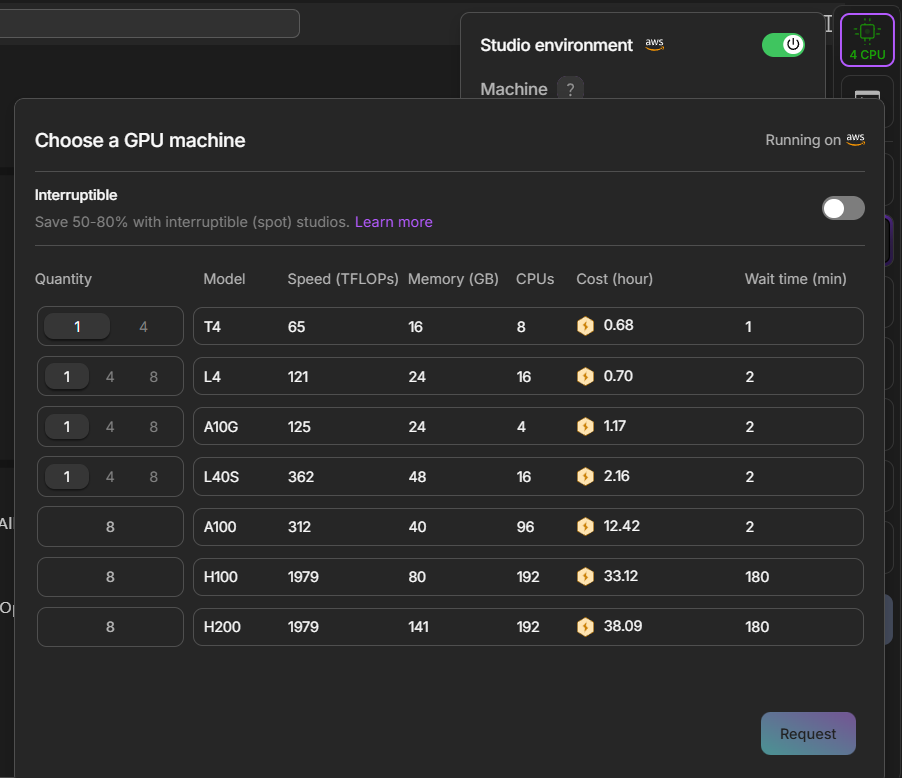
A dialog will appear, listing the available GPU machines. Lightning.ai offers a wide selection, from T4s and L4s for general tasks to powerful A100s, H100s, and even H200s for the most demanding AI workloads. You’ll see the specs for each (like TFLOPs, Memory, CPUs) and the cost per hour in credits.
Notice the “Interruptible” toggle at the top right of this dialog – it’s currently off.
Step 7: Saving Big with Interruptible GPUs – Your Work is Safe!
Now, let’s see the magic of interruptible instances. Toggle the “Interruptible” switch ON.

Watch the “Cost (hour)” column! The prices drop significantly – often by 50-80%. Interruptible (or “spot”) instances use spare cloud capacity at a much lower rate.
What does “interruptible” really mean for your work?
If you choose an interruptible instance, the active processing or training run on your Studio might be stopped if the cloud provider needs that capacity back. This is why it’s cheaper. However – and this is a key benefit of Lightning.ai – your actual work is safe! Lightning AI Studios feature persistent storage. This means all your code, any files you’ve downloaded, your installed packages, and your entire environment configuration are saved.
So, if your interruptible Studio session is halted, you won’t lose your scripts or setup. You’ll just need to restart the specific job or training run. For tasks that can be checkpointed or don’t require continuous uptime, this is an incredible way to save on costs.
Select your desired GPU and quantity, then click “Request.”
Step 8: Your GPU is on its Way!
Once you request a GPU, the Studio environment panel will update to show that it’s being provisioned.
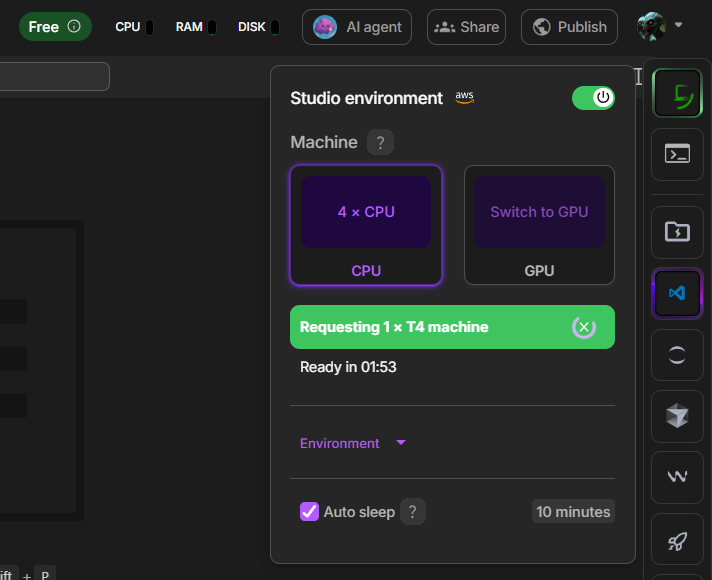
You’ll see a message like “Requesting 1 x T4 machine” and an estimated time until it’s ready.
Step 9: Confirmation to Switch
When your selected GPU is ready, a confirmation dialog will pop up.
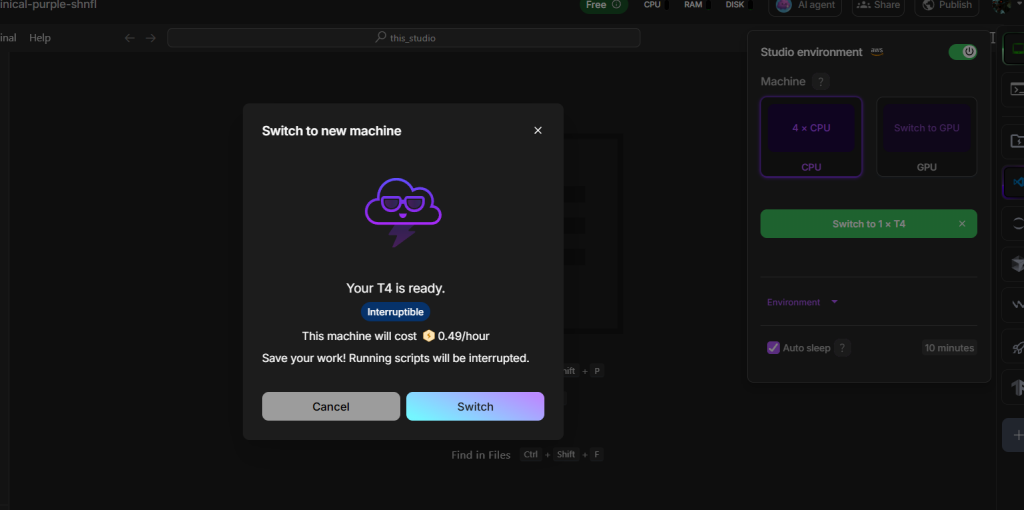
This gives you a final overview of the machine you’re switching to, its cost per hour, and whether it’s in interruptible mode. If you’re ready, click “Switch.”
Step 10: You’re Now on GPU Power!
And just like that, your Studio is now running on the selected GPU!
The “Studio environment” panel will reflect the change (e.g., “1 x T4”). The machine icon at the top right will also show the active GPU. You’ll also see an “Interruptible” tag at the top if you chose that mode. You’re now ready to run your demanding AI tasks! If you need to go back to a CPU to save credits (e.g., for more coding or setup), you can now click “Switch to CPU.”
And that’s it! You’ve successfully signed up for Lightning.ai, created your first Studio on a free CPU, and learned how to switch to a powerful (and potentially cost-effective interruptible) GPU.
This seamless transition between compute resources, combined with a persistent environment, makes Lightning.ai Studios an incredibly flexible and efficient way to develop your AI projects. It’s a fantastic platform for anyone who doesn’t have the latest high-powered GPUs at home but still wants to explore the cutting edge of AI.
In fact, we at AiBrainWorX regularly use Lightning.ai Studios to test out new ideas and play around with the latest AI models – it’s that flexible and easy to get started!
Happy coding!
Share this content: